Introduction
Updated: August 2024 By: Daison
Thank you for purchasing my theme. If you have any questions that are beyond the scope of this help file, please feel free to contact me here. Thanks so much!
How to Install
- Log in to the WordPress Administration Panel.
- Select the Appearance panel, then Themes.
- Click Add New button
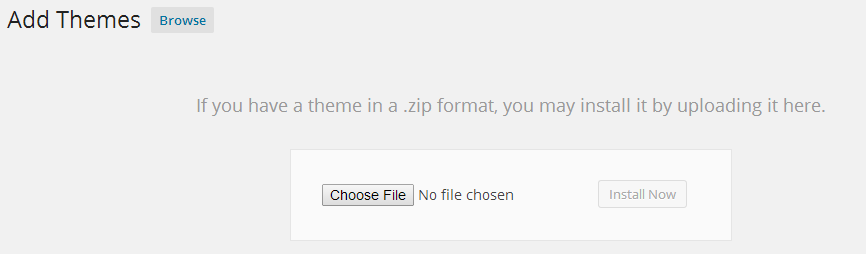
- Click Upload Theme.
- Locate
arikon.zipon your machine using the "Choose File" button. - Click "Install Now"
Required Plugin
This theme requires one plugin namely Arikon Theme Plugin for theme specific features.
You will be prompted to install this plugin.
Using Contact Form 7 (Recommended Plugin)
- After installing Contact Form 7 go to Contact → Add New. Give your form a title, go to the mail tab to see if you are using the right email address and then click the save button. More information about the plugin can be found here: Docs
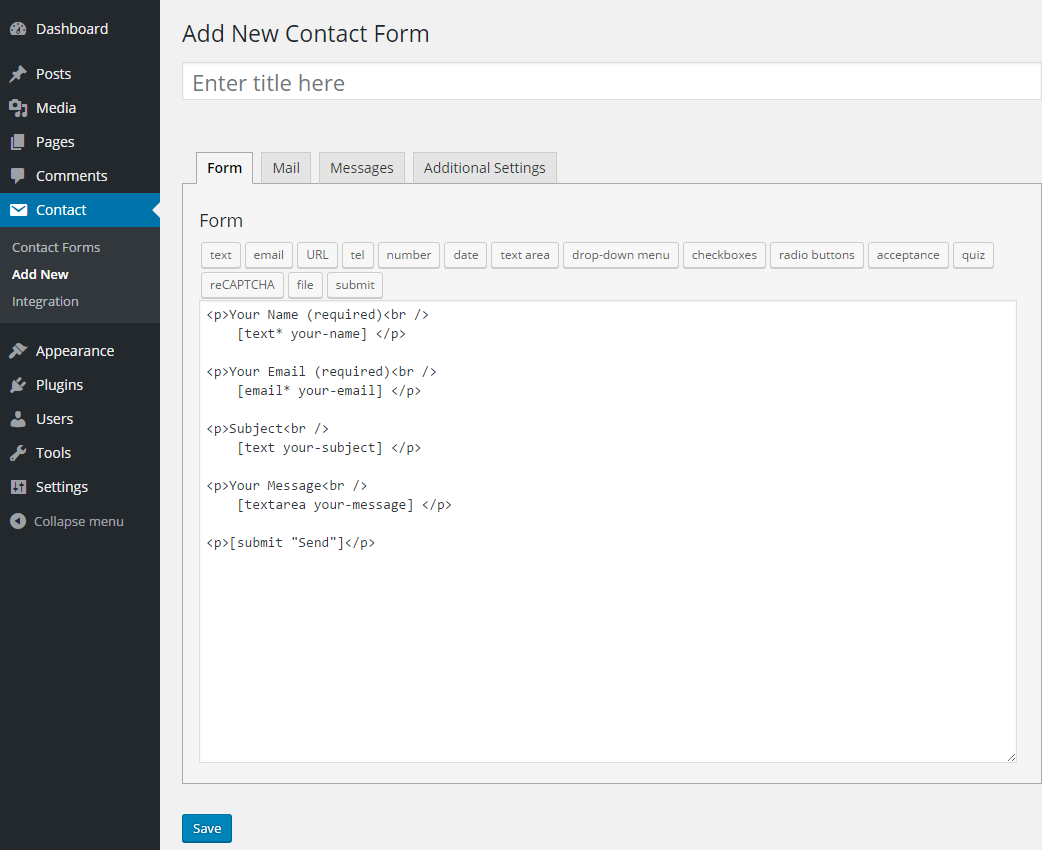
- Copy the generated shortcode, Paste it in your contact page.

MailChimp for WordPress (Recommended Plugin)
More information about the plugin can be found here: MailChimp for WordPress
Making your form like the demo:
1. Copy the code below:
<h1>Get Our Newsletter!</h1>

<p>Updates, offers and more straight to your inbox!</p>

<p>
    <input type="email" name="EMAIL" placeholder="Your email address" required />
</p>

<p>
    <input type="submit" value="Sign up" />
</p>
2. In the admin go to MC4WP > Form and paste the above code in the Form code field.
3. Home Page Setup
First you have to create the homepage.
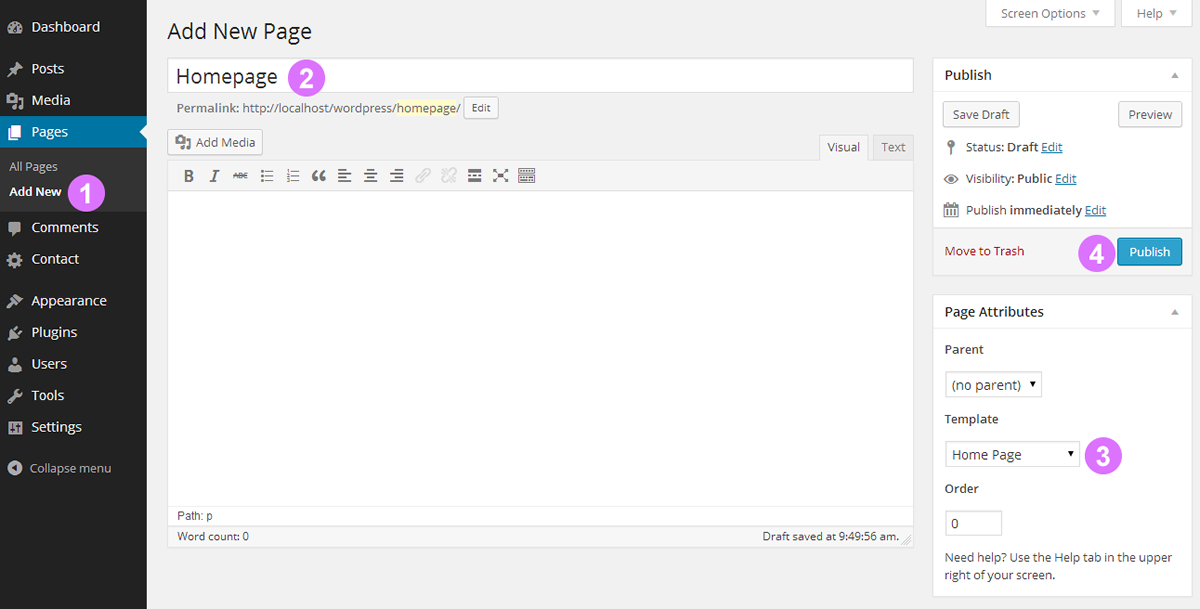
- Add New Page: Go to pages and select "Add New".
- Give It A Title: Give the new page a title, Something like "Homepage".
- Template: From the Template drop down list select "Home Page".
- Publish: You are almost there, Now click the "Publish" button.
The last few steps.
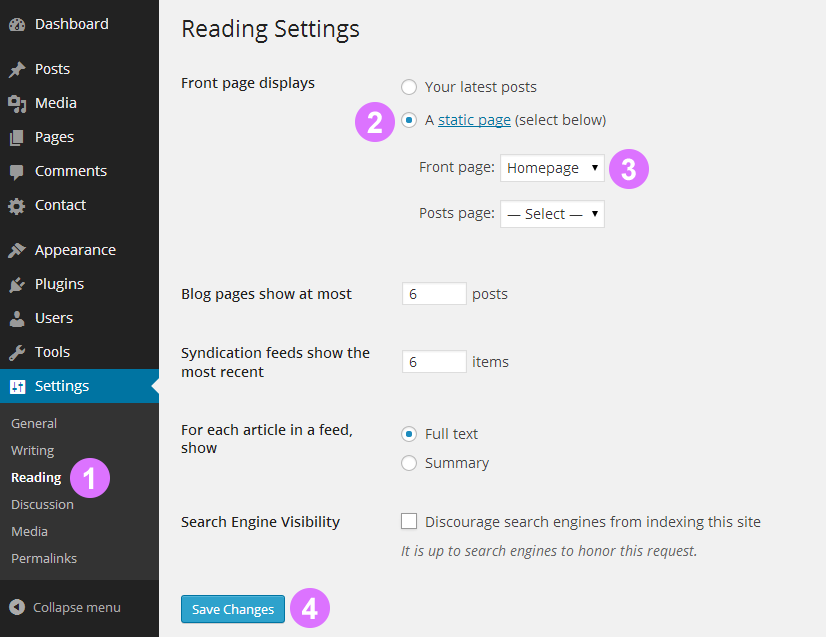
- Settings: Go to "Reading".
- Static Page: Select the option illustrated in the image below.
- Front Page: Select the page you created above, I called my page "Homepage" (This is the title of the page you created above)
- Save Changes: Click the "Save Changes" button.
4. Customizer (Editing Theme)
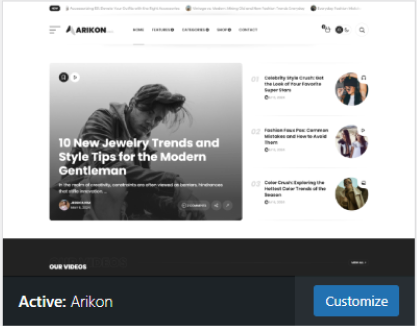
After activating the theme go to Appearance → Customize or click the "Customize" button highlighted below, to start customizing the theme.
The Site Identity panel is first. All settings are explained below.

- Logo: Here you can upload your logo.
- Site Title: The name of your website, this will be used if no logo is uploaded. It is also used for SEO reasons, so give your site a title whether you have a logo or not.
- Tagline: Your site's tagline.
- Light Logo: Upload a light logo to use in the dark mode of the theme.
- Site Icon: Also known as a favicon, this is the small icon displayed in the browser tab.
Don't forget to save your settings by clicking on the "Publish" button.
Menus
The Menus panel is second. All settings are explained below.
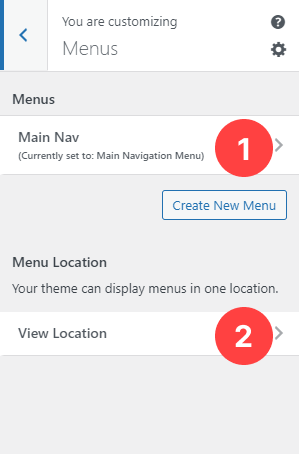
- Create a menu, give it a name and assign it to the "Main Navigation Menu" to display it in the header.
- Menu Name: The name you gave to your menu.
- Menu Location: Select where you would like this menu to be displayed.
Don't forget to save your settings by clicking on the "Publish" button.
Header
The Header panel is third. All settings are explained below.
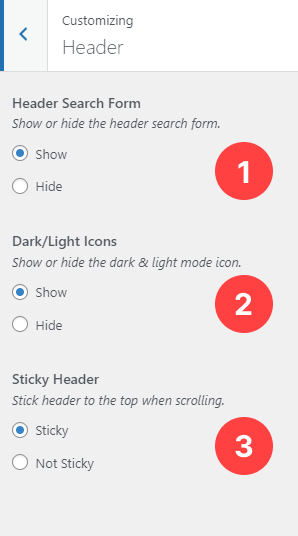
- Header Search Form: Use this setting to show or hide the search form displayed in the header.
- Dark/Light Icons: Show or hide the dark & light mode icon.
- Sticky Header: This is for sticking the header to the top of the page while scrolling.
Don't forget to save your settings by clicking on the "Publish" button.
Basics
The Basics panel is fourth.
In the Basics panel you'll find the Design section. All settings are explained below.
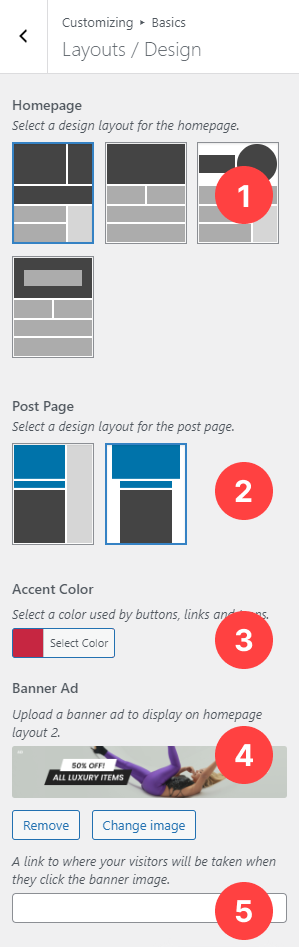
- Homepage: Select a layout for the homepage.
- Post Page: You can choose the post page layout here.
- Linear Gradient Colors: Select two colors used by gradient buttons and Icons. The first color will also be used by links.
Featured Section
In the Basics panel you'll also find the Featured section. All settings are explained below.

- Select a category: Select a category for the featured area on the homepage.
Staff Picks Section
In the Basics panel you'll also find the Staff Picks section. All settings are explained below.
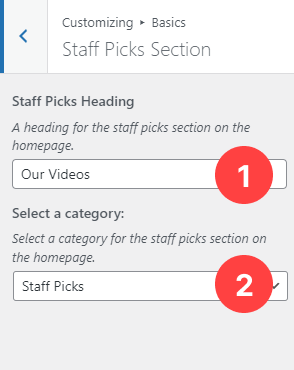
- Staff Picks Heading: A heading for the staff picks section on the homepage.
- Select a category: Select a category for the staff picks section on the homepage.
Editor's Picks Section
In the Basics panel you'll also find the Editor's Picks section. All settings are explained below.
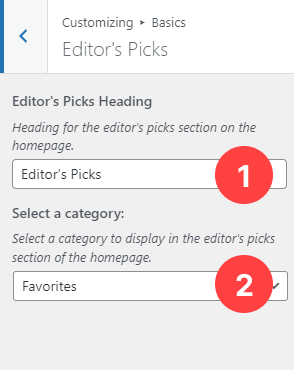
- Editor's Picks Heading: A heading for the editor's picks section on the homepage.
- Select a category: Select a category for the editor's picks section on the homepage.
Recent Posts Section
In the Basics panel you'll also find the Recent Posts section. All settings are explained below.
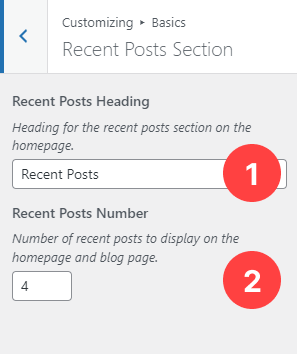
- Recent Posts Heading: A heading for the recent posts section on the homepage.
- Recent Posts Number: Enter the number of recent posts you would like to display on the homepage.
Don't forget to save your settings by clicking on the "Publish" button.
Footer
The Footer panel.
In the Footer panel you'll find the Footer Newsletter Subscription section. All settings are explained below.
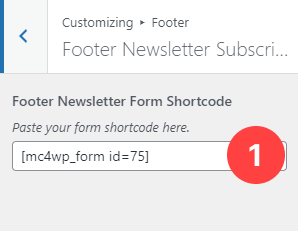
- Footer Newsletter Form Shortcode: Here you can paste the shortcode from the MailChimp form created here to display a subscription form in the footer.
Social Media Section
In the Footer panel you'll also find the Social Media section. All settings are explained below.
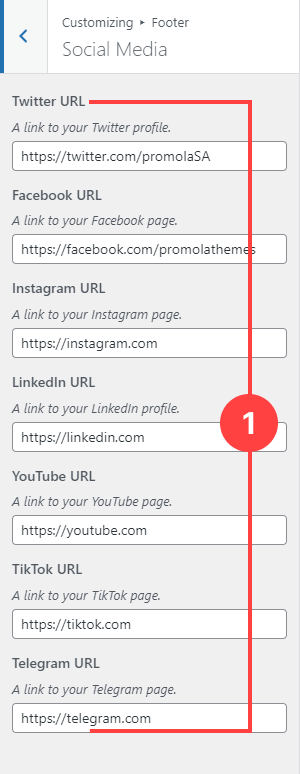
- Social Media: Paste links to your social media profiles. These links will be used by the icons in the footer. Icons will not be displayed if no link is provided.
Copyrights Text Section
In the Footer panel you'll also find the Copyrights Text section. All settings are explained below.
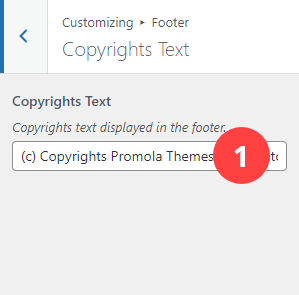
- Copyrights Text: Enter your copyrights text here. Leave empty for theme to generate the text for you.
Don't forget to save your settings by clicking on the "Publish" button.
Widgets
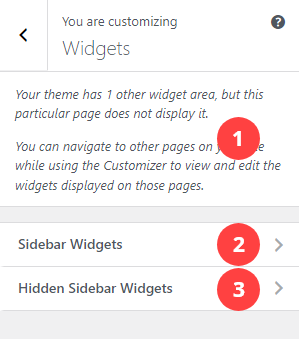
The Widgets Panel panel. All settings are explained below.
- Shop Widgets: Widgets displayed in the shop sidebar.
- Sidebar Widgets: Widgets displayed in the sidebar of all pages that have a sidebar.
- Hidden Sidebar Widgets: This is for widgets in the hidden sidebar, displayed when the burger menu icon in the header is clicked. The burger menu icon will not be displayed if no widgets are added to this section.
Don't forget to save your settings by clicking on the "Publish" button.
Homepage Settings
The Homepage Settings panel. All settings are explained below.
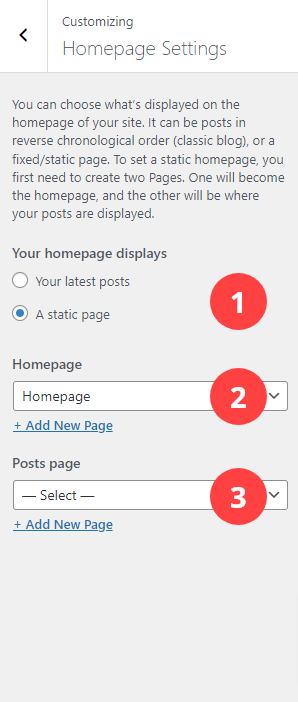
- Your homepage displays: Select a static page here if you want your homepage to look like the demo.
- Homepage: Select the homepage you created here if it's not selected already.
- Posts page: Select a page to display your posts (This is optional)
Don't forget to save your settings by clicking on the "Publish" button.
Additional CSS
The Additional CSS panel. All settings are explained below.
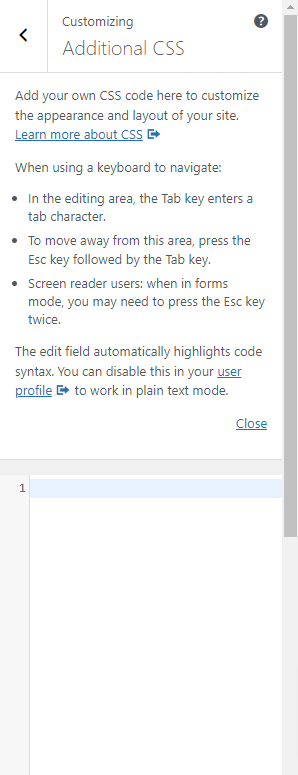
Additional CSS: You can add your own CSS code here.
Don't forget to save your settings by clicking on the "Publish" button.
- Arikon Popular Posts: This is for displaying popular posts with thumbnails.
- Arikon Recent Posts: This is for displaying recent posts with thumbnails.
7. Sources and Credits
I've used the following resources.
- Photos from Unsplash
- MailChimp for WordPress By ibericode
- Contact Form 7 By Takayuki Miyoshi
- Fonts by: Google Fonts
8. Elements Not Included In Download
- None of the photos used in the preview are included with this download. Use the links provided above to download and find out more about the license usage for those photos.
Elements Not Included In Download
None of the photos used in the preview are included with this download, Use the links provided above to download and find out more about the licence usage for those photos.
Once again, thank you so much for purchasing this theme. As I said at the beginning, I'd be glad to help you if you have any questions relating to this theme.
~Daison