WipCast (WordPress Theme) by “Daison”
“WipCast (WordPress Theme)”
Updated: August 2024
By: Daison
Thank you for purchasing my theme. If you have any questions that are beyond the scope of this help file, please feel free to contact me here. Thanks so much!
Table of Contents
- How to Install
- Required Plugins
- Home Page Setup
- Options Panel (Editing Theme)
- Featured Images / Featured Media
- Widgets
- Menu Badges Setup
- Google Ads
- Sources and Credits
- Elements Not Included In Download
A) How to Install - top
- Log in to the WordPress Administration Panel.
- Select the Appearance panel, then Themes.
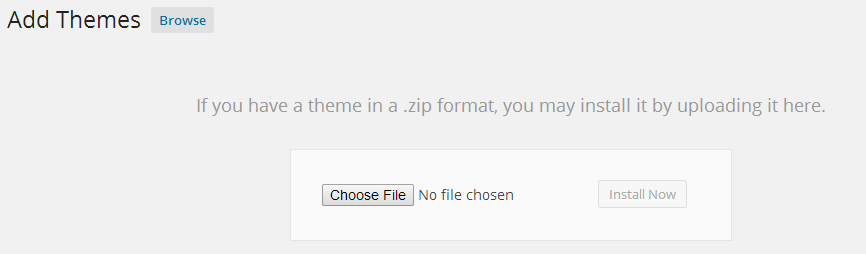
- Click Add New button
- Click Upload Theme.
- Locate wipcast.zip on your machine using the "Choose File" button.
- Click "Install Now"
B) Required Plugins - top
This theme requires two plugins namely Options Framework for the options panel and WipCast Theme Plugin for theme specific features.
You will be prompted to install these plugins if you don't already have them installed.
Using Options Framework
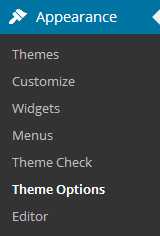
Install the plugin and then go to appearance in the admin menu, click on Theme Options. You will be taken to the themes options page, options have explanations right next to them.
WipCast Theme Plugin
This is a theme specific plugin it enables the podcast custom post, custom widgets and adds other features to the theme.
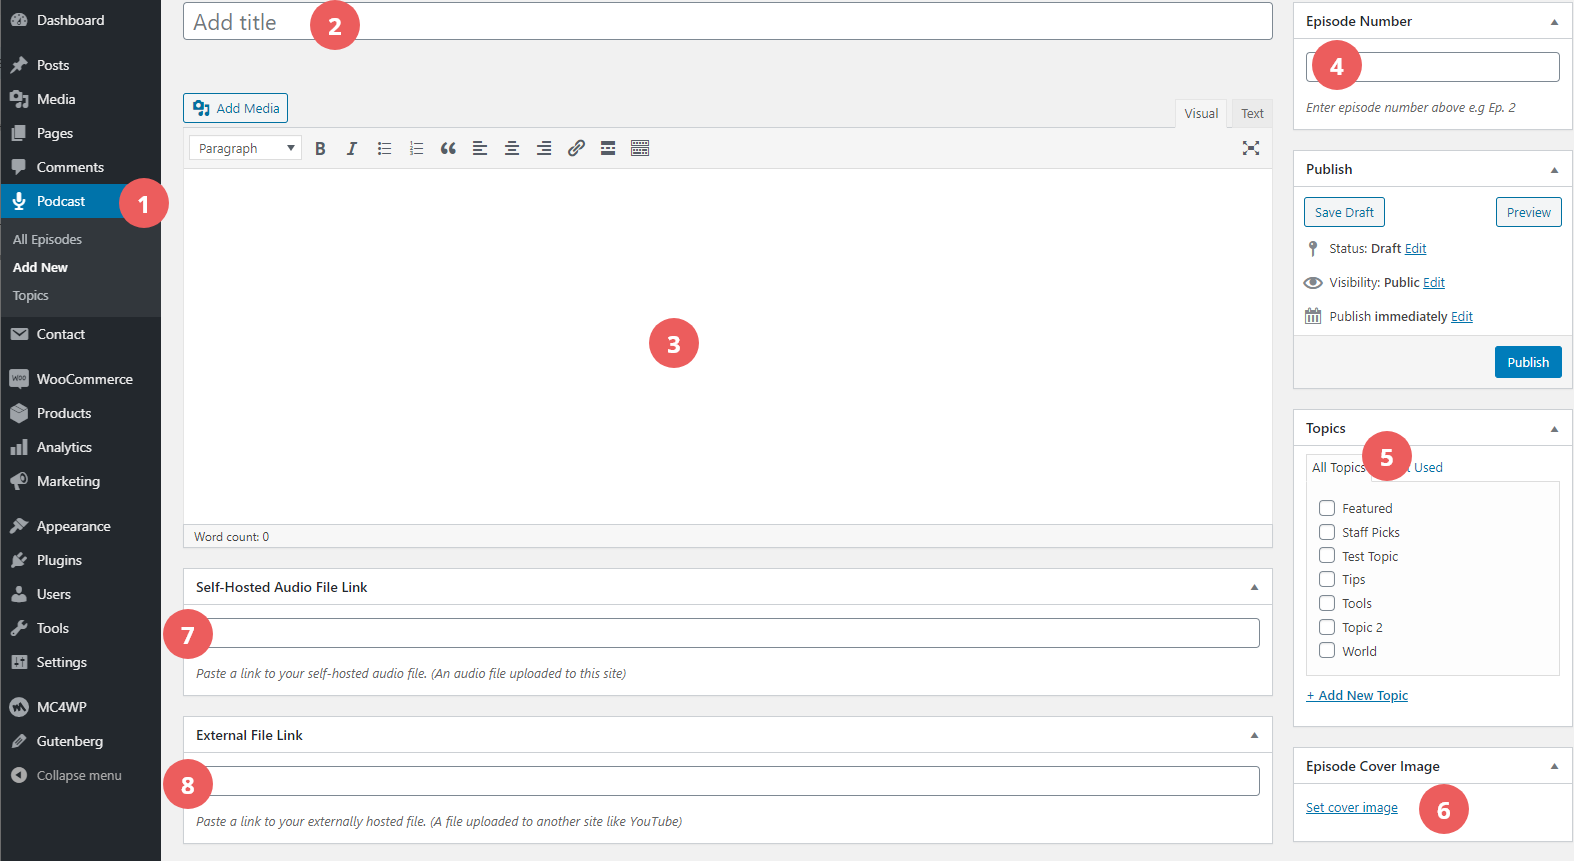
After installing and activating this plugin you will get the podcast section in the admin as demonstrated by the image below.
- Option 1 Podcast: Click "add new" to add a new podcast episode.
- Option 2 Add Title: Give this episode a title.
- Option 3 Episode Content: Add some content to the episode just like any other WordPress post.
- Option 4 Episode Number: Give this episode a number e.g Episode 1.
- Option 5 Topics: Topics are like categories for your podcast, use them to group your episodes.
- Option 6 Episode Cover Image: Add a featured image that goes with the episode.
- Option 7 Self-Hosted Audio File Link: A link to an audio file hosted on your site. Upload your audio file to the media gallery and copy its link, then paste it here.
- Option 8 External File Link: Here you can paste a link to your episode hosted elsewhere like YouTube, SoundCloud or any other WordPress supported embeds.
Using Contact Form 7 (Recommended Plugin)
After installing Contact Form 7 go to Contact > Add New. Give your form a title, go to the mail tab to see if you are using the right email address and then click the save button. More information about the plugin can be found here: Docs
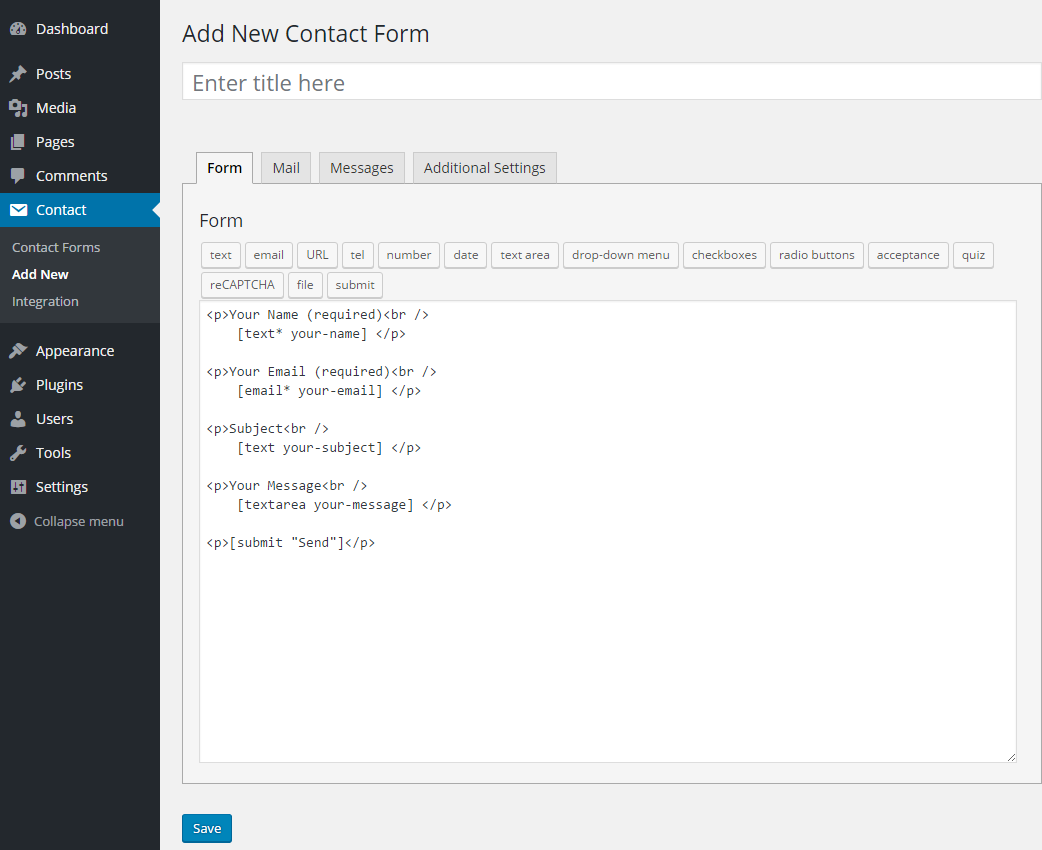
- Copy the generated shortcode, Paste it in your contact page.

MailChimp for WordPress (Recommended Plugin)
Create a form similar to the image below and then save it. Now you can go to your widgets and place the MailChimp widget in any widgetized area.
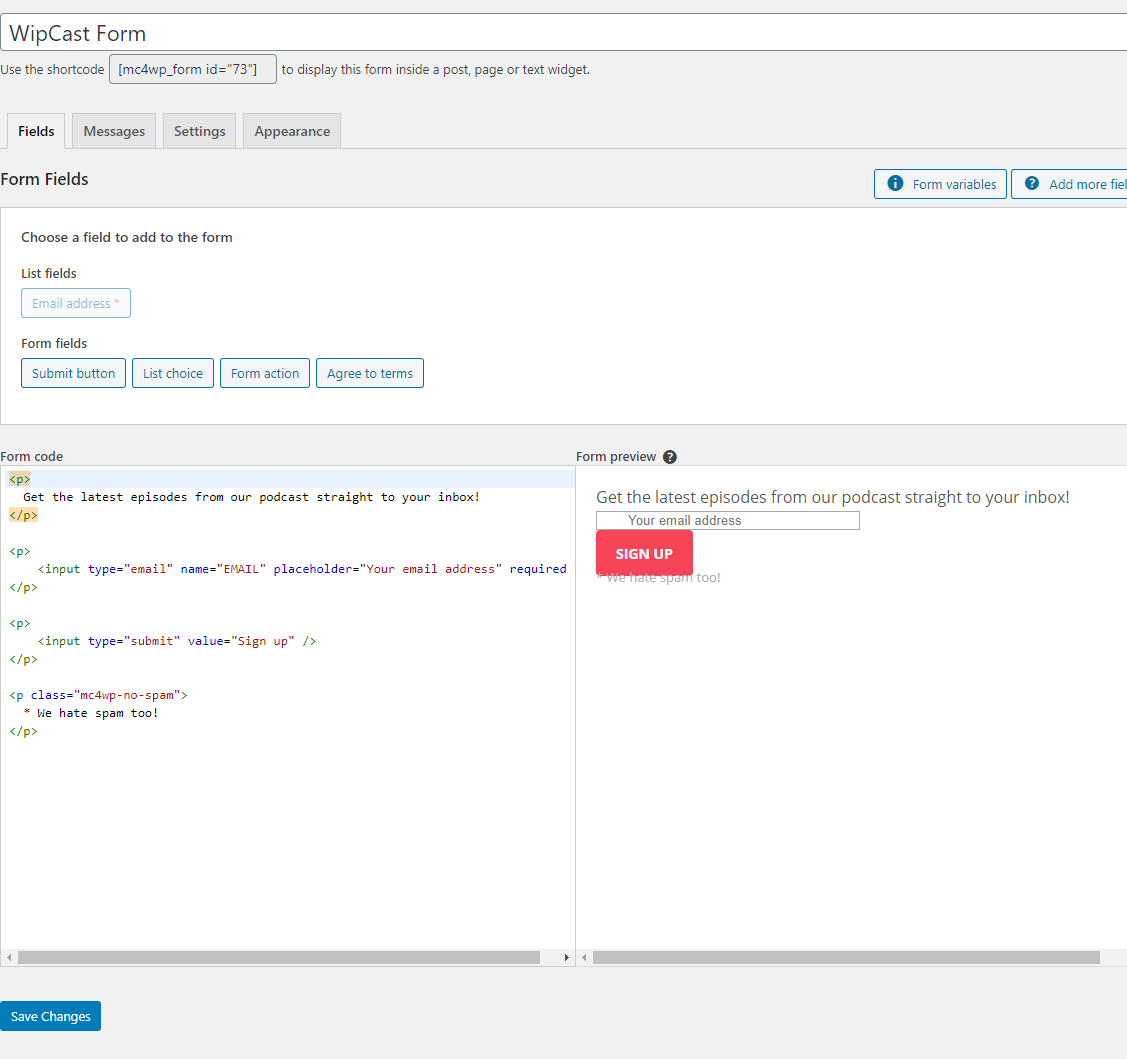
If you would like the form to look exactly like the one in the theme demo just paste the following in the form code field:
			<p>
			  Get the latest episodes from our podcast straight to your inbox!
			</p>

			<p>
			  <input type="email" name="EMAIL" placeholder="Your email address" required />
			</p>

			<p>
			  <input type="submit" value="Sign up" />
			</p>

			<p class="mc4wp-no-spam">
			  * We hate spam too!
			</p>
More information about the plugin can be found here: MailChimp for WordPress
C) Home Page Setup - top
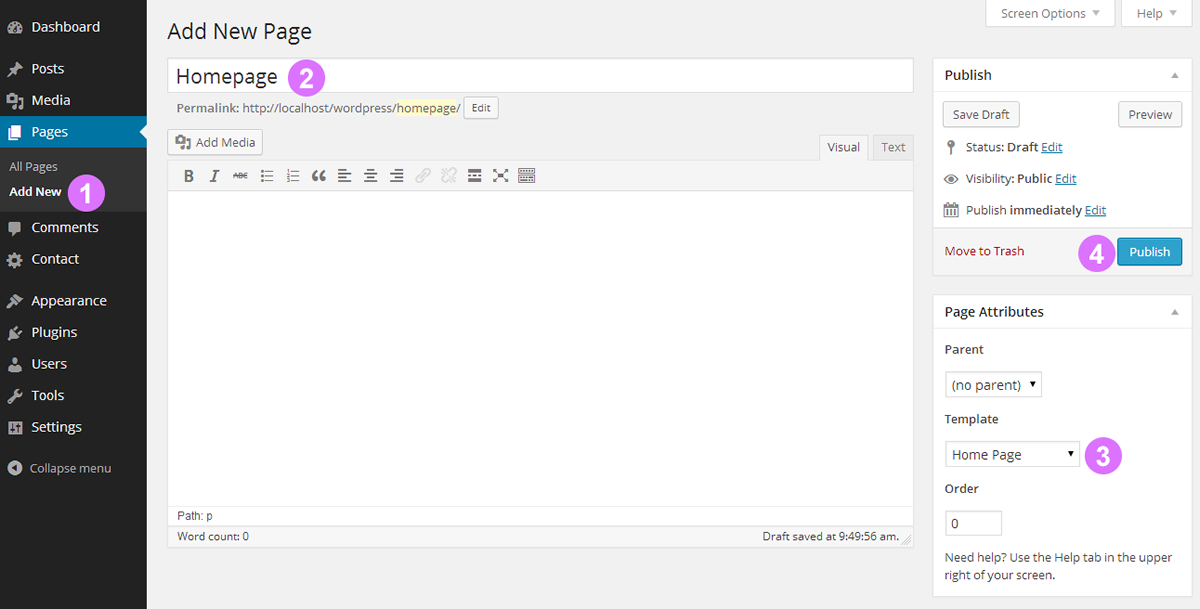
First you have to create the homepage.
- Add New Page: Go to pages and select "Add New".
- Give It A Title: Give the new page a title, Something like "Homepage".
- Template: From the Template drop down list select "Home Page".
- Publish: You are almost there, Now click the "Publish" button.
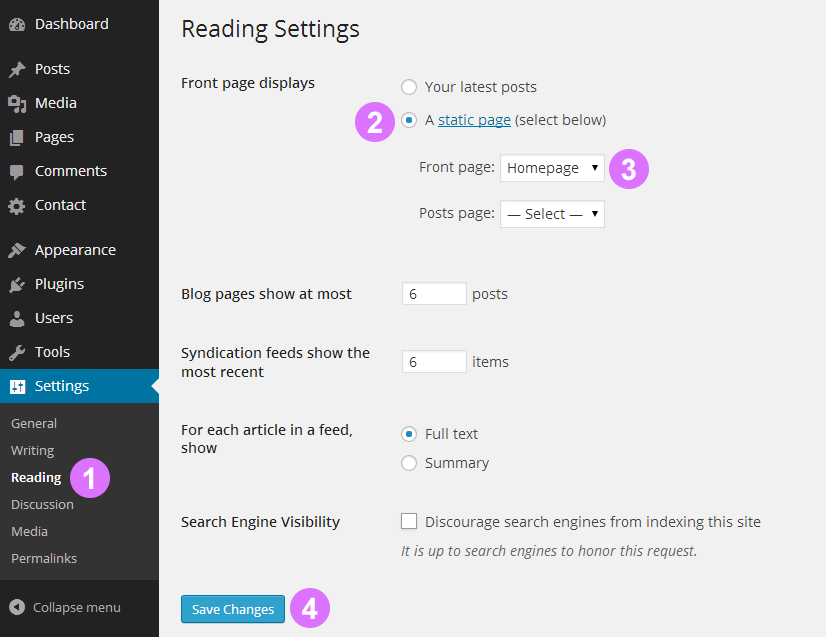
The last few steps.
- Settings: Go to "Reading".
- Static Page: Select the option illustrated in the image below.
- Front Page: Select the page you created above, I called my page "Homepage" (This is the title of the page you created above)
- Save Changes: Click the "Save Changes" button.
D) Options Panel (Editing Theme) - top
The first tab is the Basics tab which has 6 fields. All options for the Basics tab are described below.
- Option 1 Homepage Layout: Select the homepage layout.
- Option 2 Favicon Uploader: Use this field to upload your very own favicon.
- Option 3 Accent Color: Select the main color for your website, this color will be used by links, buttons etc.
- Option 4 Number Of Recent Posts: Enter the number of blog posts to display on your blog page.
- Option 5 Single Post/Episode Layout: Select the single post/episode page layout.
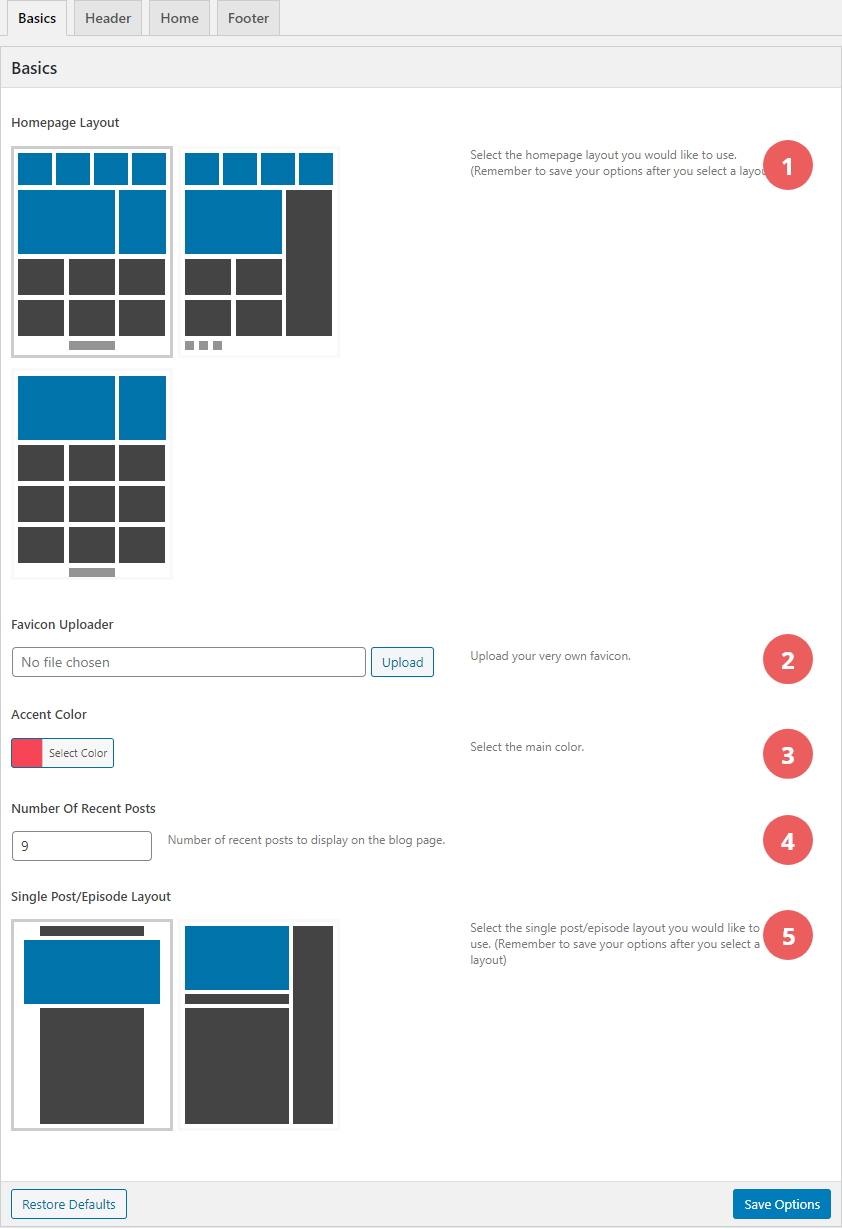
Don't forget to save your options by clicking on the "Save Options" button.
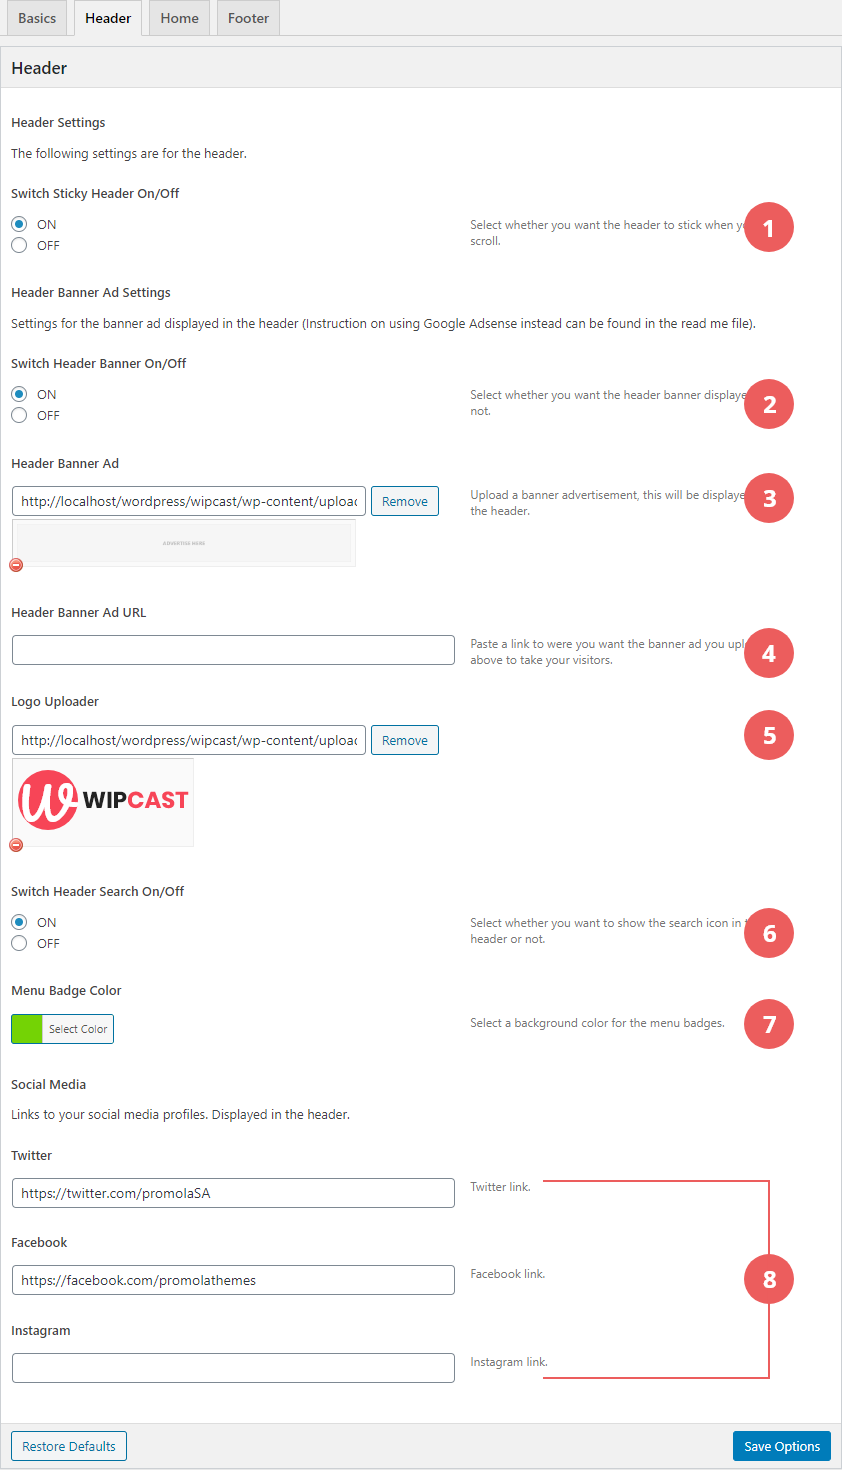
The second tab is the Header tab. All options are explained below.
- Option 1 Switch Sticky Header On/Off: Use this option to switch the sticky header on or off.
- Option 2 Switch Header Banner On/Off: Select whether you want the header banner displayed or not.
- Option 3 Header Banner Ad: Upload a banner advertisement to display in the header. Or you can use Google Ads instead, see how here.
- Option 4 Header Banner Ad URL: Paste a link to where you want the header banner you uploaded above to take your visitors when they click on it.
- Option 5 Logo Uploader: Use this option to upload your logo.
- Option 6 Switch Header Search On/Off: Use this to display or hide the search icon in the header.
- Option 7 Menu Badge Color: Select a background color for the menu badges.
- Option 8 Social Media: Paste links to your social media profiles here, these will be used by the social media icons displayed in the header.
Don't forget to save your options by clicking on the "Save Options" button.
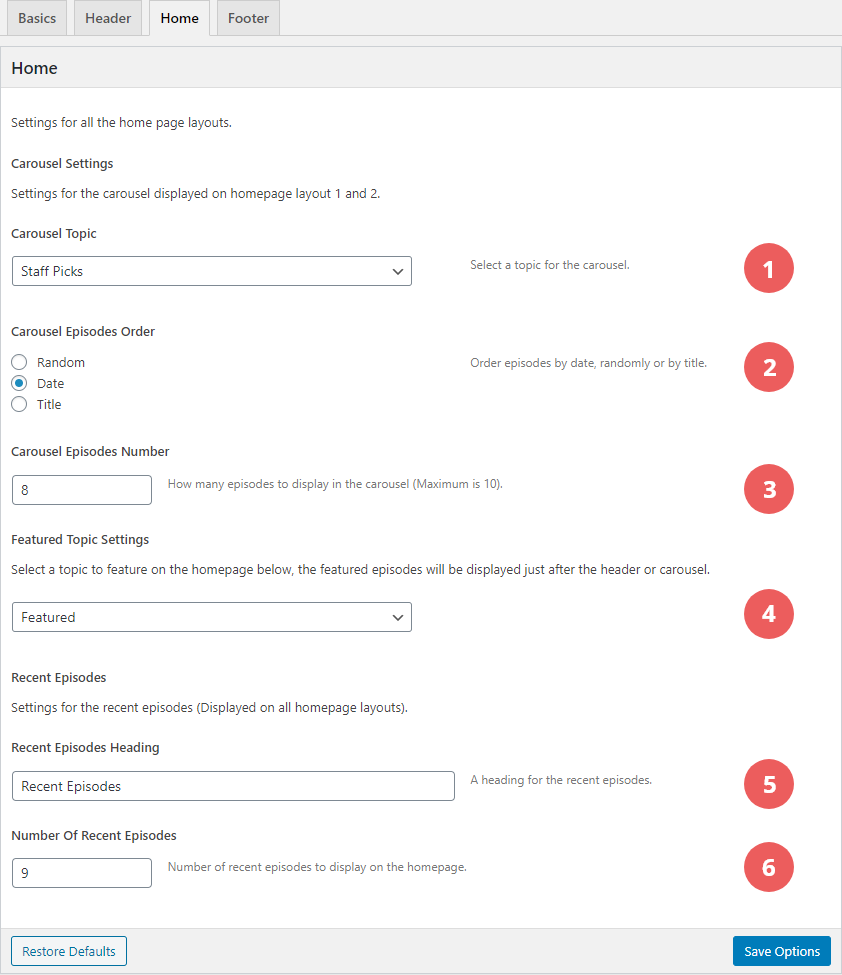
The third tab is the Home tab. All options are explained below.
- Option 1 Carousel Topic: Select a podcast topic for the carousel displayed after the header on homepage layout 1 and 2.
- Option 2 Carousel Episodes Order: Order episodes in the carousel by date, title or display them randomly.
- Option 3 Carousel Episodes Number: Enter the number of episodes you would like to display in the carousel, the maximum number of episodes you can display is 10.
- Option 4 Featured Topic Settings: Select a podcast topic to feature, the featured episodes are displayed after the carousel or header banner. They can be identified by stars displayed on the top left corner of the post image.
- Option 5 Recent Episodes Heading: A heading for the recent episodes section.
- Option 6 Number Of Recent Episodes: Enter the number of recent episodes to display on the homepage.
Don't forget to save your options by clicking on the "Save Options" button.
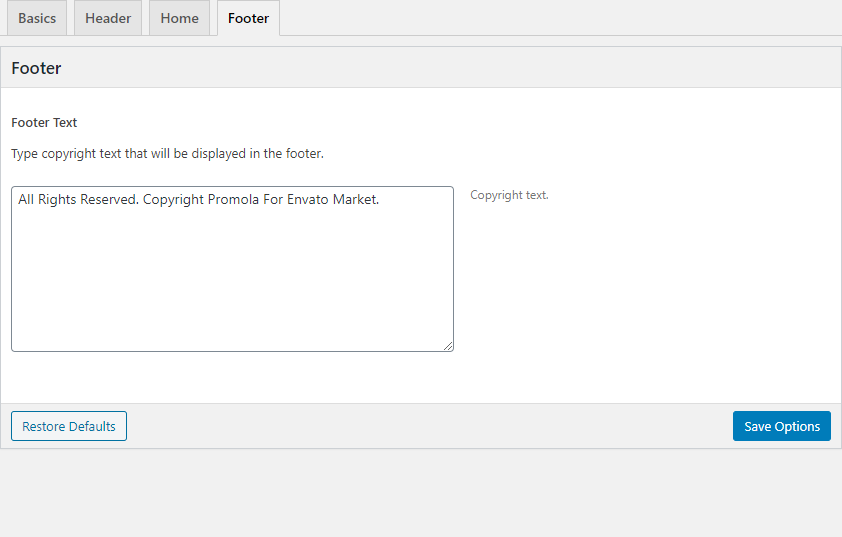
The fourth tab is the Footer tab. All options are explained below.
Type copyright text here, this will be displayed in the footer.
Don't forget to save your options by clicking on the "Save Options" button.
E Featured Images - top
Featured Images
If you installed WipCast on a website that already has content, your thumbnails will probably not look good. This is how you fix them.
- Step 1: Download, install and activate "Regenerate Thumbnails" this is a WordPress plugin.
- Step 2: In the admin go to Tools > Regen Thumbnails, and then click the "Regenerate All Thumbnails" button.
The above steps should make your thumbs work with Zeek.
F) Widgets - top
This theme comes with six widgets and five widgetized areas.
These are the widgets:
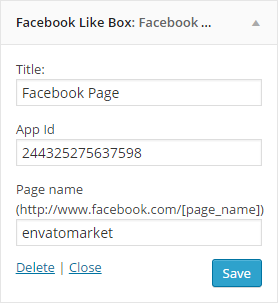
- Facebook Like Box:
This is for displaying a Facebook Like Box, You can use your own App ID or the default one.
- Promola Popular Episodes:
This is for displaying popular episodes with thumbnails.

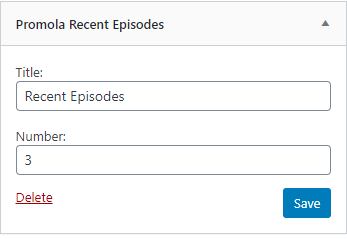
- Promola Recent Episodes:
This is for displaying recent episodes with thumbnails.
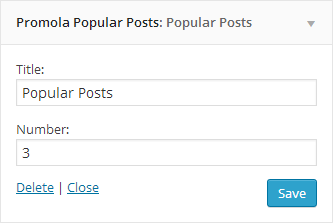
- Promola Popular Posts:
This is for displaying popular posts with thumbnails.
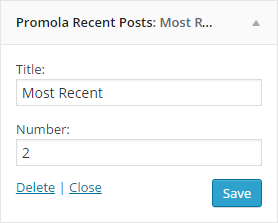
- Promola Recent Posts:
This is for displaying recent posts with thumbnails.
- Promola Contact Info:
Use this widget to display information about you or your company. You can also paste links to your profiles on other sites like YouTube (https://youtube.com/username).

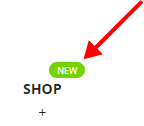
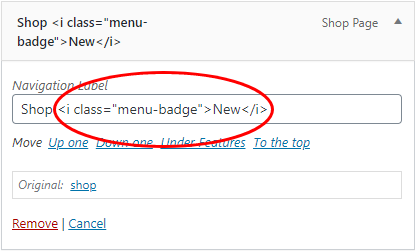
G) Menu Badges Setup - top
Paste the following code in your menu (in the admin) to display a menu badge, change New to any word you want (keep it short).
<i class="menu-badge">New</i>
H) Google Ads - top
Open a file called header-banner.php in the template-parts folder and replace < -- Paste Google Ads Code Here -- > with your Adsense code.
I) Sources and Credits - top
I've used the following resources.
- Photos from Unsplash
- MailChimp for WordPress By ibericode
- Contact Form 7 By Takayuki Miyoshi
- Options Framework By Devin Price
- WooCommerce By Automattic
- Font Awesome By Dave Gandy
- Fonts by: Google Fonts
J) Elements Not Included In Download - top
- None of the photos used in the preview are included with this download, Use the links provided above to download and find out more about the licence usage for those photos.
Once again, thank you so much for purchasing this theme. As I said at the beginning, I'd be glad to help you if you have any questions relating to this theme.
Daison